To explain the fabrication workflow here: I'm working with folding seemless paper rectangles into down-scaled maquettes as the plan for folding large paper. The largest brown paper I can find has 48" as its shortest edge, so the proportions developed here have that in mind. The folding scheme here should produce a bag with plenty of space between two participants, but comes down to below the waist. If I can find paper with a longer short dimension it could come down further.
I first deconstructed a bag to understand the general form for folding a paper rectangle into a 3D bag. Then I started sketching/folding in 3D and make maquettes. Using the same folding proportions and techniques should work when working with the up-scaled paper.
2D Layout: basic folding form and proportions for folding a single paper rectangle into a bag with only two points of adhesive.

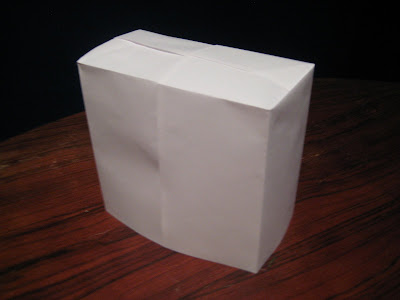
Mark 1: Single 8 1/2 x 11 paper folded into bag maquette

Mark 2: Single 8.5 x 11 folded into half of a double-wide bag maquette.
Mark 3: Two 8.5 x 11 pages folded into a double wide bag maquette. (4 points of adhesive)
Mark 3: Two large brown paper bags formed into a double-wide bag maquette.
Three maquettes in repose:
Finally, to share a revised concept for having comfortable head clearence: Instead of having shoulder mounts, my new idea is to get costume top hats and chop the brim off to make supportive head mounts.


No comments:
Post a Comment
Note: Only a member of this blog may post a comment.